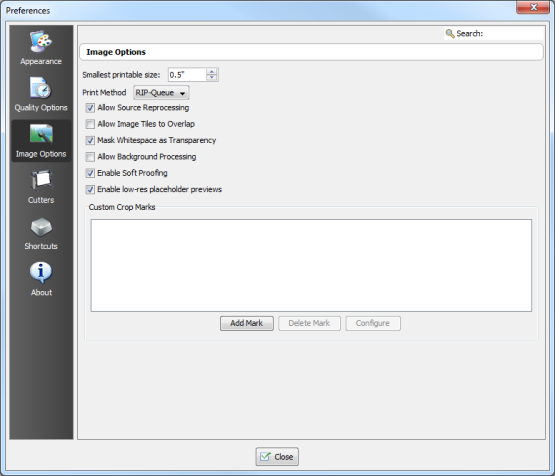
This option allows you to overlap tiles on top of each other. You should only use this option in conjunction with the MaskTo block off a background or other area, so that the unmasked area can be printed, or worked on. Whitespace as TransparencyAny artwork that is viewed by light passing through it, rather than reflecting off it (for example, images printed on backlit film and viewed on a light box). See Reflective Copy option. Typically, you will use this option to place two images with white space on top of each other to maximize media usage. When overlapping images, you cannot control the order in which images are overlapped.
This option allows you to process your images before printing them. If you modify your images extensively before printing, enabling this option will slow down your production speed. If you do not modify your images extensively, this option will improve your production speed.
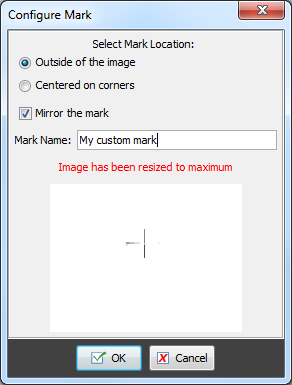
This option allows you to import your own marks to use as Crop Marks. Click [Add Mark] to add a new Crop Mark. Once the Mark has been added, click [Configure] button to configure the Mark (Figure 2). To remove the mark, click [Delete] button.
You also can add Custom Crop Marks to your image using the Marks tool.